
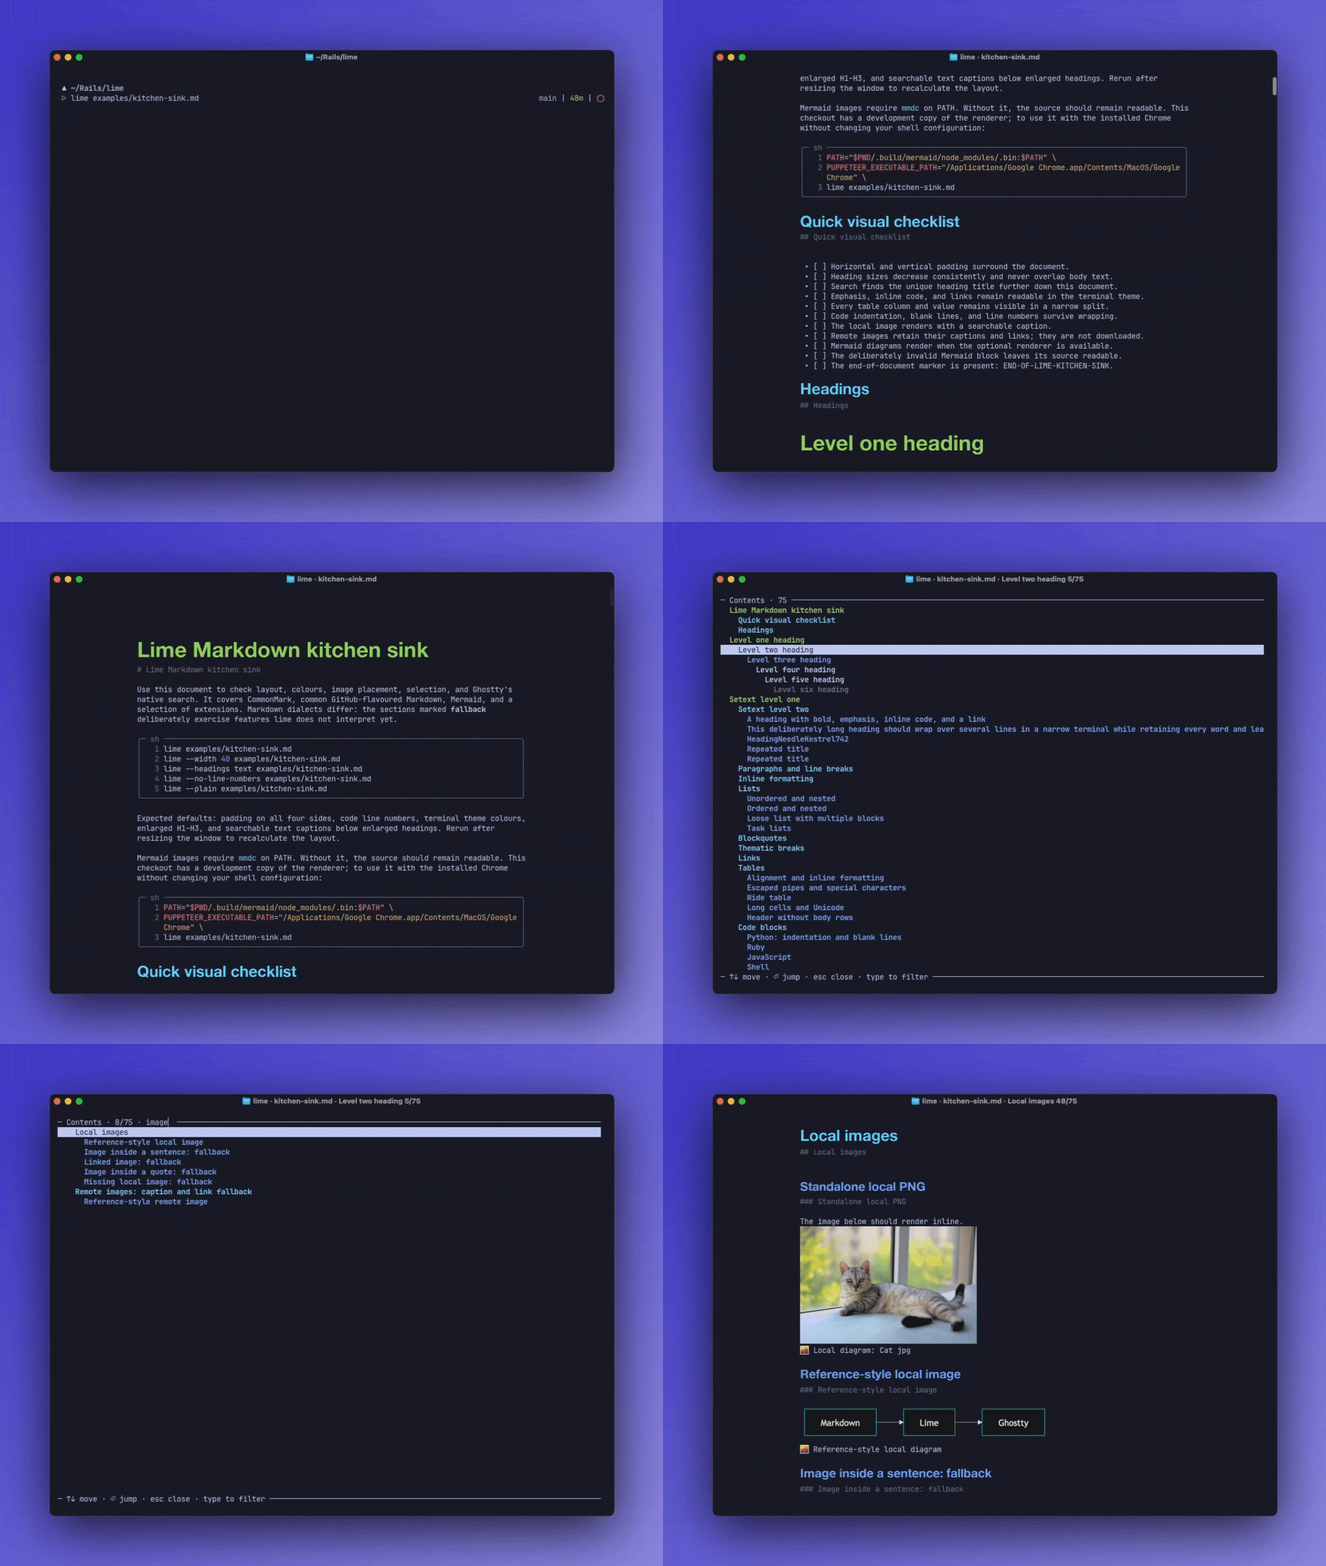
cat README.md has looked the same for thirty years. A flat wall of # and **
symbols, that developers have learnt to recognise and deal with.
Great for editing markdown, not great for reading long documentation.
I wanted to see if I could do something about it.
I’ve been longing for a good markdown reader for the terminal for a while now. I tried a few but none felt like real rendered markdown.
I dreamt of a tool that would give me big headings and navigation of large documents without ever leaving my terminal. In a few hours, I’d vibe coded a proof of concept python package and sent it to a friend. He added zen mode (which we made the default) and lime was born.
This post is a short walkthrough of how it works, and how we leverage modern terminals to make a 1970s text protocol paint like a modern app.
The modern terminal renaissance
Terminals draw one size of monospace text. There’s no such thing as a “large heading” in the terminal world, so how can we render big headings?
We’ve been spoilt for choice with modern terminals recently. Ghostty has been my terminal of choice for a while now, and Ghostty (and an increasing number of modern terminals) supports the Kitty Graphics Protocol.
The Kitty Graphics Protocol is an open standard to render images, animations and pixel level graphics directly inside the terminal.
Could we leverage the kitty graphics protocol to render big headings in the terminal?
Proof of concept
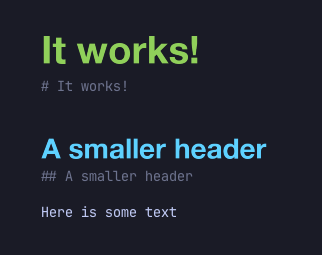
I vibe coded a quick proof of concept with a simple task “take this markdown file, render it to the terminal and show headings as images”
It works!
Headings are rendered as transparent PNGs using Pillow and loaded into the terminal as inline images. Since these are images, we lose the ability to search for them, so lime renders a dim copy of the heading undernethd in normal sized text so you don’t lose search and select-to-copy.
Design choices
I wanted lime to feel like reading a document. You should be able to scroll with your trackpad, search with your terminal’s native search, it should feel native and fast.
Most terminal readers work by taking over a second buffer, which is why everything vanishes when you quit the tool.
Lime opts for something different.
We print your entire document into scrollback once, and then jump you back to the top of the page ready for reading.
Scrolling with a trackpad, your terminals search, copying, and selection all work natively, and the document is still there in your scrollback after you exit for quick reference.
How navigation works
Remember how we load the entire file into scrollback?
Instead of reprinting the section you want to the terminal, we simply ask Ghostty to jump it’s viewport to the relevant section via Apple Events.
A round trip of this is a few milliseconds, making navigation feel snappy.
Lime keeps track of the exact row each heading printed at and tells Ghostty to jump to it.
Pressing t brings up an interactive table of contents. This is where we do utilise the terminal’s second buffer. You can jump straight to a section or start typing to narrow down a list of applicable headings.
Summary
Lime is available on GitHub. It’s macOS and Ghostty only for now, but I have some great ideas for future releases.